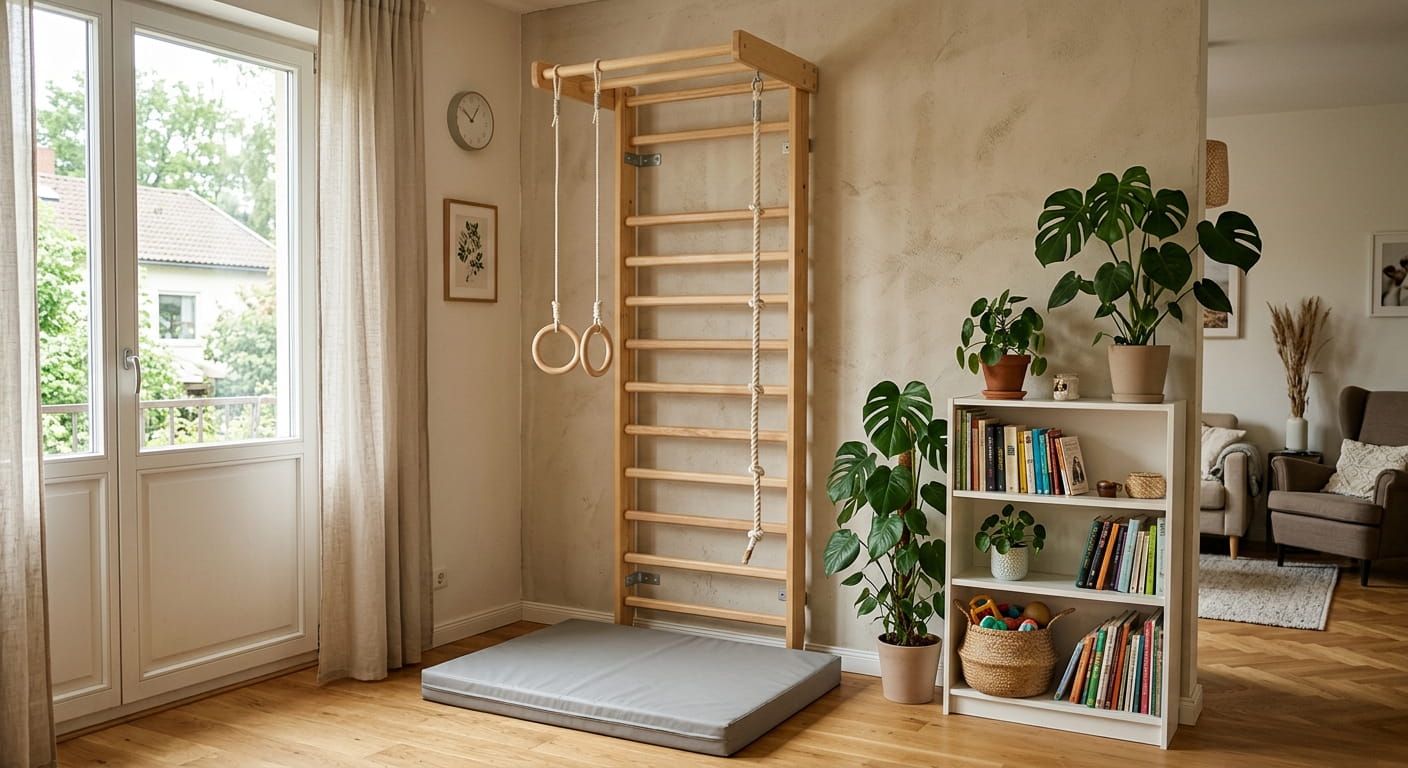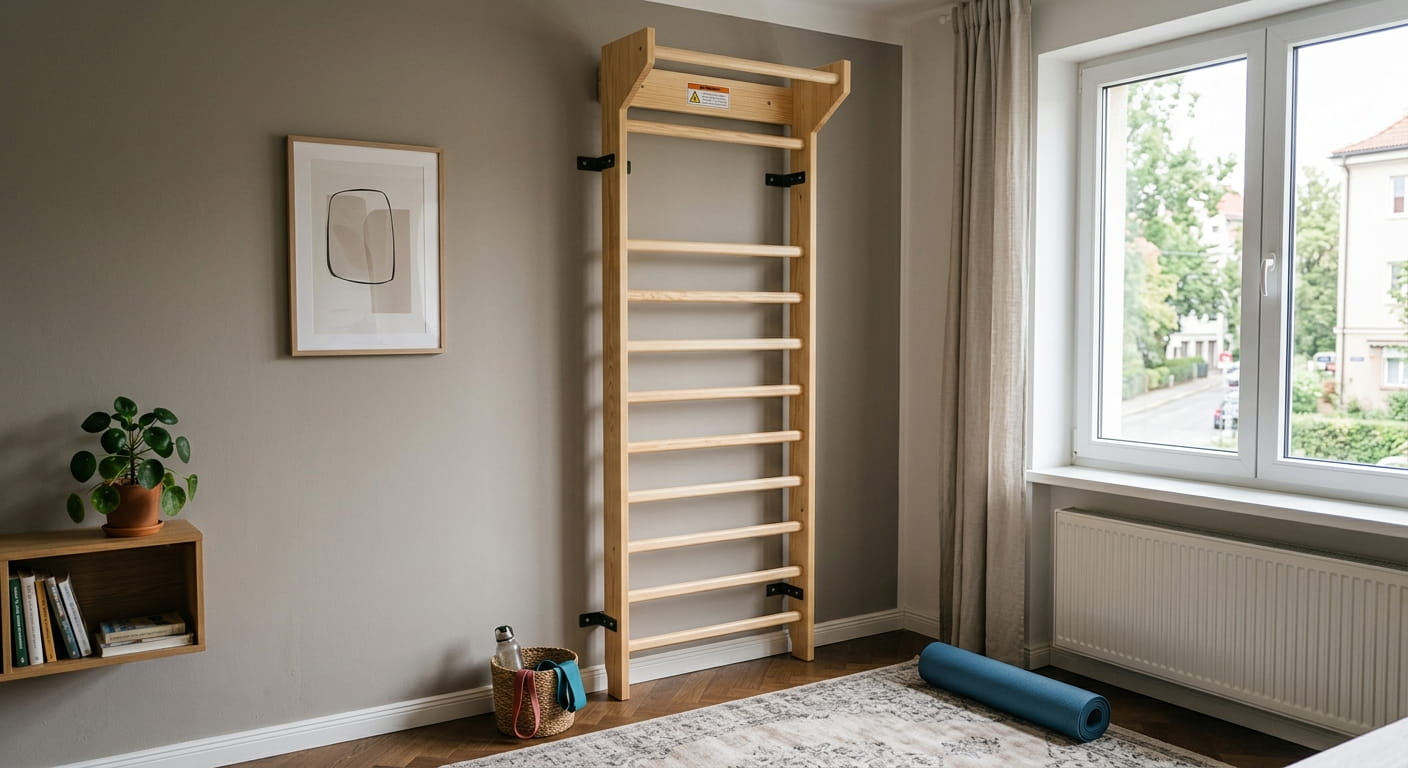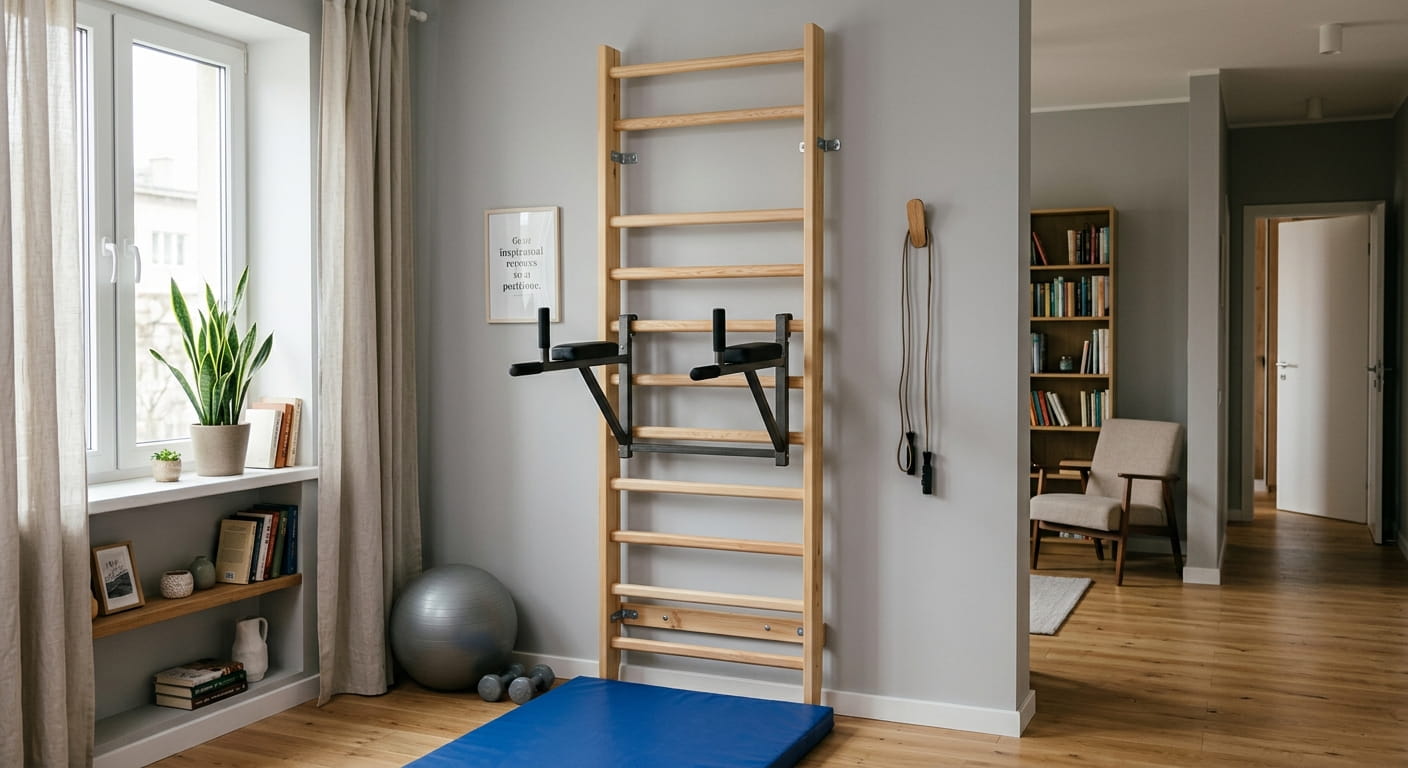
Pressure-mounted wall bars work without a single hole in the wall: a screw jack pushes the uprights apart between floor and ceiling, and pressure plus friction hold the whole frame in place. This fixing method is the choice for rented flats, plasterboard partitions and thin panel walls, where there is simply nowhere to drive an anchor. Below — what ceiling you need, how a pressure mount differs from wall and combined fixings, which models can be pressure-mounted, what load it holds and how to look after the threaded mechanism.
Pressure-mounted wall bars: how the frame stays up without drilling
The principle is simple, yet many buyers have only heard of it in passing. The top upright of the unit does not end in a flat plate — a threaded screw rod with a wide support foot is built into it. You assemble the frame on the floor, stand it vertically between floor and ceiling, then simply wind the jack out with a key or by hand until the foot presses into the ceiling slab with enough force. No drilling, no dust, no plugs — the entire fixing rests on bracing and friction.
For comparison: on ordinary wall-mounted wall bars, the load is taken by anchor bolts driven into a load-bearing wall. On a pressure-mounted model the forces work differently — vertically, from floor to ceiling, rather than horizontally into the wall. Hence the requirements: it is not so much the strength of the wall that matters (there may be none nearby at all) as the strength of the ceiling slab and the exact height of the room.
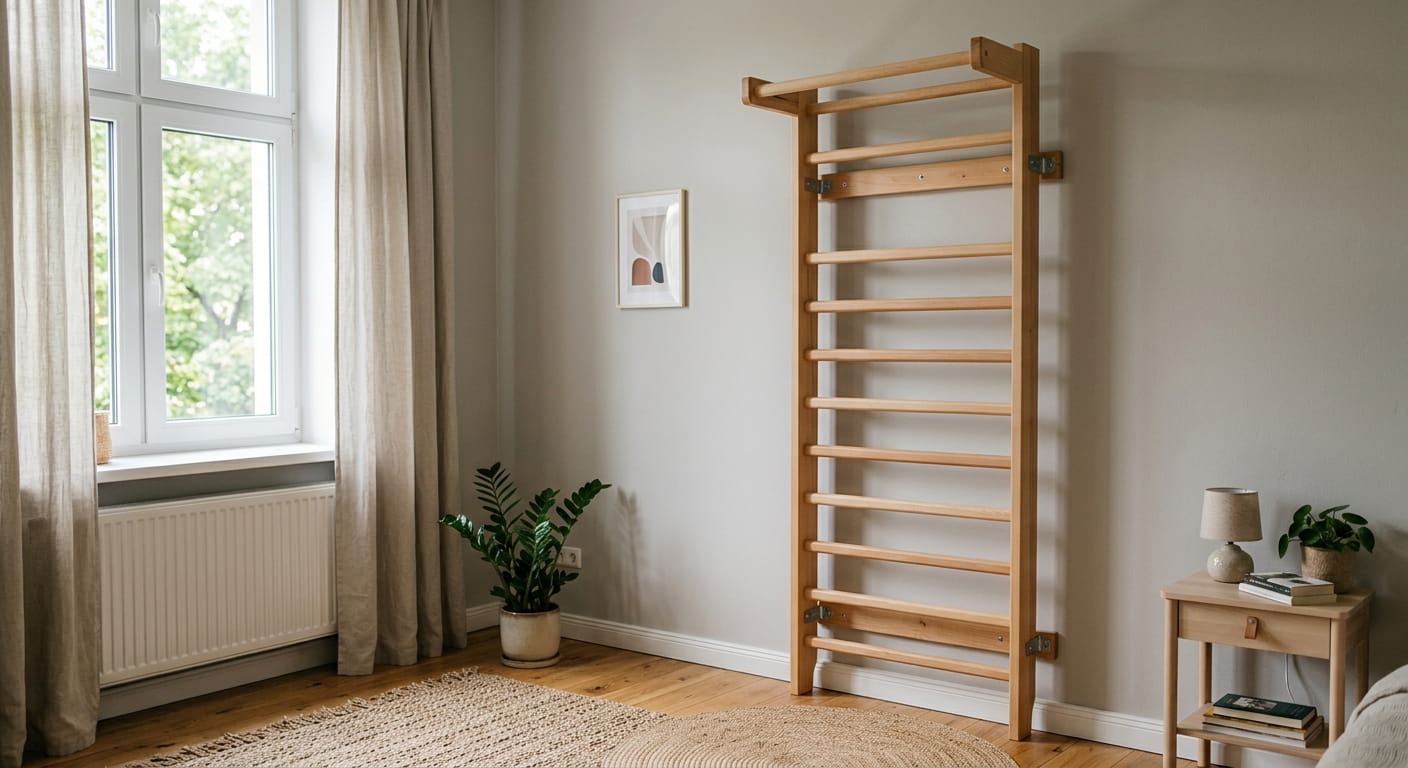
What the screw mechanism of pressure-mounted wall bars consists of
The top node is a threaded tube inside the upright and a movable rod with a wide foot on the end. The foot usually has a soft pad so it does not dent or scratch the ceiling during installation. The mechanism turns by hand or with a tommy bar: the tighter it is wound, the firmer the grip and the more stable the whole structure. It is this node that sets a pressure mount apart from a wall mount and makes it temporary by nature — the pressure-mounted wall bars can be unwound and moved to another room or flat in a few minutes.
- Threaded rod with a wide adjustment range for different ceiling heights
- Support foot with a cushioning pad on top
- Base support with a non-slip pad on the floor
- Main frame — the same laminated uprights as on wall-mounted models
Who a pressure mount suits: practical upsides
People want a sports corner in a rented flat, in a new build without final finishing, in a room with a plasterboard partition — anywhere drilling is either forbidden, or nerve-wracking, or simply pointless. Pressure-mounted wall bars cover all these scenarios at once, because the load-bearing job is lifted off the wall entirely.
No drilling into the walls
No anchors or plugs — the renovation and wallpaper stay intact, and the pressure-mounted wall bars come down with no marks on the wall.
Easy when moving house
Unwind the screw jack, take the frame apart — and move the pressure-mounted unit to a new place in a single evening.
Works on thin walls and plasterboard
Where a partition will not hold an anchor, a floor-to-ceiling pressure mount is the only workable option left.
Fast assembly with no special tools
No hammer drill needed — just the keys from the kit and a little time to level it up.
Renting deserves a special mention. Tenants are usually bound by their lease: landlords forbid drilling load-bearing walls for a pull-up bar. Pressure-mounted wall bars solve this — formally nothing changes in the finish under the agreement, and the pressure-mounted wall bars can be assembled and taken apart in one go. The same goes for wall bars for an apartment, where compactness and leaving no installation marks on the walls are often exactly what matters.
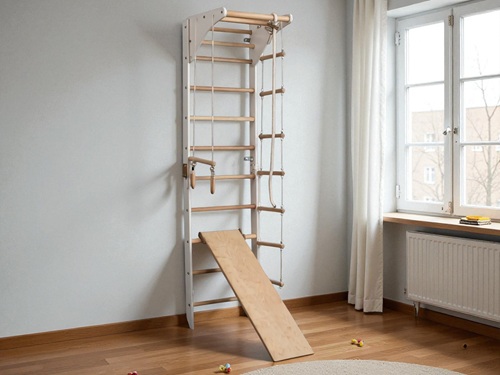
What ceiling pressure-mounted wall bars need
This is where the maths begins, and it cannot be ignored. A pressure mount works in a ceiling-height range of roughly 2.40 to 3.10 metres, thanks to the travel of the screw rod in the top upright. Below 2.40 m the uprights are usually too short even with the jack fully out; above 3.10 m the thread no longer has the travel for the rod to reach and create enough clamping force.
The slab material matters too. A concrete floor slab is the ideal option: rigid, it does not sag under load and holds the point pressure of the foot well. A timber ceiling in a house or loft also works, but the jack must sit exactly where a joist runs underneath, not in the middle of the span between joists — otherwise years of loading and jumping on the bar will gradually push the ceiling in.
| Parameter | Value | Comment |
|---|---|---|
| Ceiling height | 2.40–3.10 m | Working travel range of the screw jack |
| Slab type | Concrete slab, timber over a joist | The support sits on a strong load-bearing point |
| Stretch ceiling | Not allowed | Membrane and profile will not take a point brace |
| Suspended ceiling (plasterboard, Armstrong) | Not allowed | The suspension frame is not rated for axial load |
| Floor | Hard surface, tiles, laminate over a screed | Soft carpet with a thick underlay reduces stability |
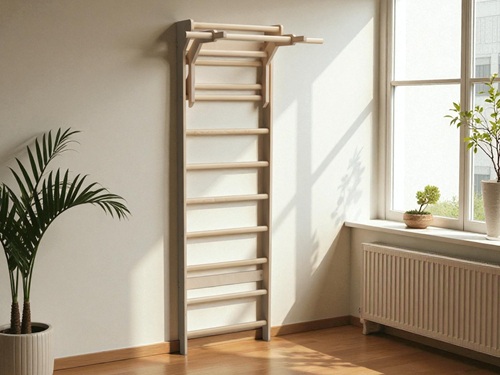
Where pressure-mounted wall bars must not be installed
A stretch ceiling and any suspended ceiling (a plasterboard box, slatted, Armstrong) are an absolute no-go zone for a pressure mount. The film or fabric of a stretch ceiling is simply not rated for point pressure, and the metal frame of a suspended ceiling carries the weight of its own finish but not the axial load from a sports unit, let alone swinging on a bar.
There are less obvious limits too. A ceiling that is too high, beyond 3.10 m, is also out: the rod will run out of travel, and extending the upright yourself is unsafe — that is no longer a factory structure. A ceiling that is too low, under 2.40 m, cuts into the upper working zone of the pressure-mounted wall bars — the bar and top rungs end up too close to the ceiling, making training awkward and unsafe.
Another nuance is a thin floor screed over joists or a timber floor on a weak base in an old house. The base support of the pressure-mounted wall bars presses with considerable force, and if there is a void or rotten board under the finished floor, the support will eventually push the surface in. In such cases a wide support plate or a sheet of plywood under the base foot to spread the load is the answer.
Signs that pressure-mounted wall bars must not be installed
- A stretch ceiling of any kind — film or fabric
- A suspended plasterboard or slatted ceiling
- Ceiling height below 2.40 m or above 3.10 m
- A hollow floor over joists without a rigid screed
- A balcony, loggia or room with visible cracks in the ceiling
How pressure-mounted wall bars differ from wall and combined fixings
A manufacturer's site usually lists three mounting methods, and confusing them is a common reason a buyer picks the wrong model. A wall anchor fixing is the most rigid: the uprights are pulled tight to a load-bearing wall with heavy anchor bolts, the structure has virtually no play and holds the maximum load. But this method needs a concrete or solid brick wall — you physically cannot set an anchor in plasterboard, as the plaster and sheet will not hold a pull-out load.
A floor-to-ceiling pressure mount works differently: rigidity comes not from screws into the wall but from the pressure of the screw rod. It is more versatile in where it can go — it suits a thin partition or a corner with no wall at all — but it needs a specific ceiling height and a strong slab above and below.
A combined fixing, found on top models like the "Atlet", unites both principles: part of the load is taken by an anchor in a load-bearing wall, part by the pressure brace into the ceiling. This pairing gives maximum stability and is rated for the heaviest loads, but it requires both a load-bearing wall nearby and a suitable ceiling height at once — so it does not suit every room.
| Criterion | Wall (anchor) | Pressure (floor-to-ceiling) | Combined |
|---|---|---|---|
| How it holds | Anchor bolts into the wall | Screw jack between floor and ceiling | Wall anchor + screw jack |
| Wall requirements | Concrete, solid brick | The wall carries no load | A load-bearing wall nearby is a must |
| Ceiling requirements | Not important | Height 2.40–3.10 m, strong slab | Height 2.40–3.10 m, strong slab |
| Plasterboard, thin wall | No | Yes | No without a load-bearing wall nearby |
| Stretch, suspended ceiling | No effect | No | No |
| Mobility, moving house | Low, leaves dismantling marks | High, takes apart quickly | Medium |
| Maximum rigidity | High | Medium, depends on the tension | Maximum |
| Typical load | 120–150 kg, up to 250 kg on reinforced | 120–150 kg | Up to 250 kg |
For those living in a house with concrete slabs and load-bearing walls, it is often wiser to look at wall bars for the home with a wall or combined fixing — there rigidity matters more than mobility. But when the wall is not load-bearing or the flat is rented, the pressure-mounted option wins hands down.
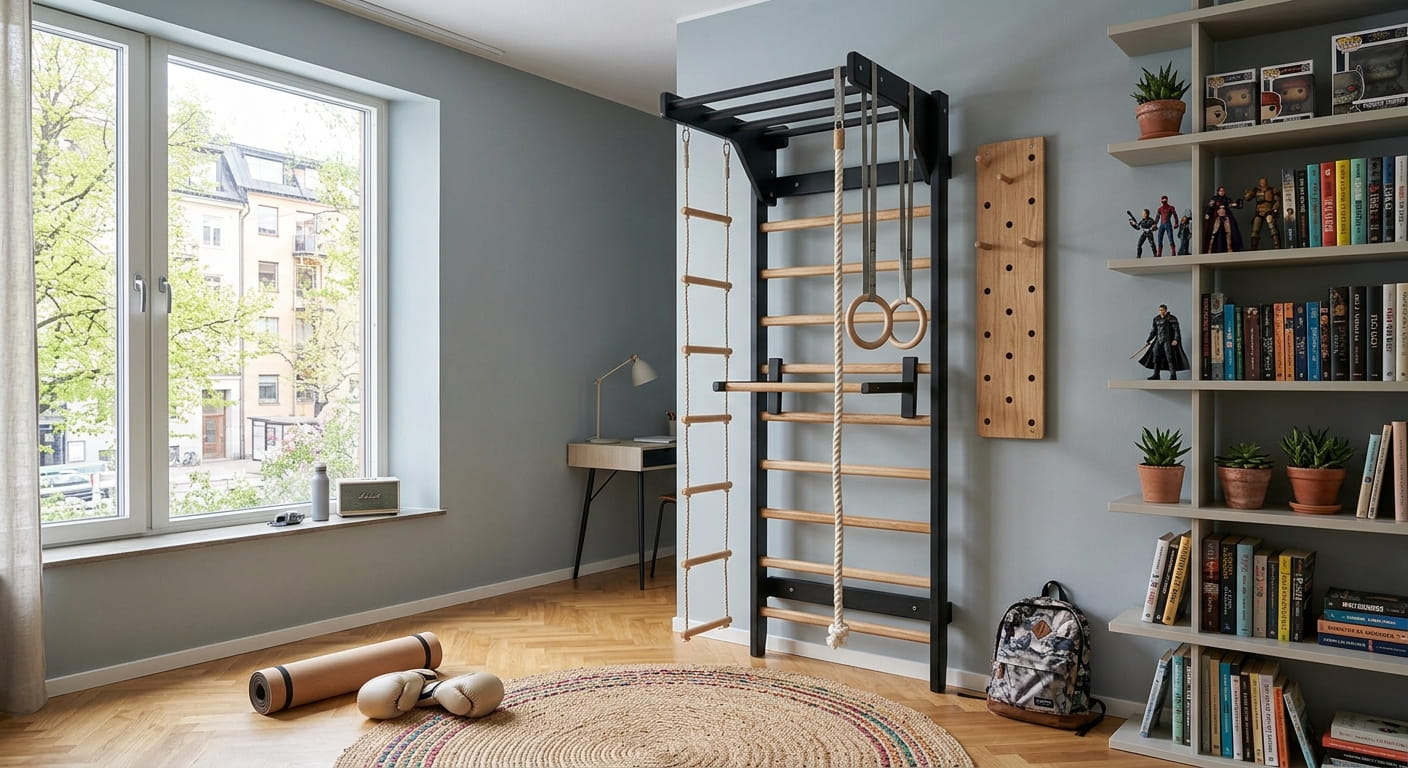
Stability and safety of a pressure-mounted structure
Buyers' main fear is whether the unit will topple if it is not bolted solidly to the wall. Installed correctly, pressure-mounted wall bars hold no worse than wall-mounted ones under household loads, because the clamping force of the screw rod is calculated with a margin, while the weight of the structure itself and the frame geometry add stability.
Stability comes from several factors at once: the exact height (the jack must be wound out to firm contact, not "almost touching"), a level floor with no tilt, no play in the frame joints and regular retightening of the hardware. If even one point is off — say, the rod is not fully wound out — the whole structure starts to wobble under load, and that is the first signal to stop and retighten the node.
Before the first workout on new pressure-mounted wall bars it is worth checking the pressure-mounted wall bars by hand: grip the top rung and firmly rock the body side to side. There should be no play. If the uprights move even a little — the screw jack is under-tightened, and it is too early to train on the unit.
What to watch during assembly for the stability of pressure-mounted wall bars
- The level is set vertically in both planes, not by eye
- The screw jack is wound to firm contact with the ceiling, with no gap
- The base support stands on a hard surface, not a soft carpet
- All frame bolts are tightened per the instructions, no node "plays"
- The unit does not touch furniture, curtains or sockets nearby
A separate point on child safety: even a steadily standing set of pressure-mounted wall bars should not be left unsupervised while a child is still learning the pressure-mounted wall bars. Sharp jerks on the bar or swinging with full body weight are a load the screw fixing is built for, but one best rationed, especially in the first weeks after mounting, while the threaded node "beds in".
One more detail rarely thought of in advance: the distance from the pressure-mounted wall bars to surrounding objects. Swinging on the bar or a jerking pull-up shifts the centre of gravity of the whole structure by a few millimetres — normal for a pressure mount, but it means there should be no sharp furniture corners, glass cabinet doors or a windowsill within reach of a foot at the top point near the wall bars.
Pros and cons of a pressure mount: an honest comparison
Every technical solution has a flip side, and it would be dishonest to talk only about no-drill convenience. Pressure-mounted wall bars objectively fall short of wall-mounted ones in one thing — absolute rigidity. Even a perfectly tightened screw jack allows a micro-play that a structure bolted solidly to a concrete wall does not have. For most household loads the difference is imperceptible, but a professional athlete with working weights will feel it faster than an amateur.
The second downside is dependence on the room geometry. A wall-mounted model can be fixed to almost any load-bearing wall regardless of ceiling height, whereas a pressure mount only where the height falls within 2.40–3.10 m. Multi-level stretch ceilings, arches, mezzanine niches — all of these narrow the choice of a suitable corner in the room.
Yet the list of pluses is longer and in many cases outweighs them. Beyond the no-drilling already covered, the speed of dismantling stands out: moving wall-mounted wall bars to a new place means drilling the wall again at the new site, plastering the old holes and picking an anchor for the new wall type. With a pressure-mounted model the whole process fits into rearranging the furniture — take it down, move it, set it up at the new place, provided the ceiling height there also works.
Pluses that tip the balance in most household scenarios:
- No drilling into the walls and no spoiling of a fresh finish
- Fast dismantling and transport to a new home
- Works on plasterboard and thin partitions where an anchor is useless
- Suits rented housing without breaching the lease terms
- Takes up minimal floor space, around 0.2 square metres
Downsides to factor in beforehand:
- Needs an exact ceiling height in the 2.40–3.10 m range
- Cannot be installed under a stretch or suspended ceiling
- Slightly lower absolute rigidity than an anchor fixing
- Needs periodic retightening of the screw node every 3–6 months
- Not rated for extreme professional-level strength loads
Common mistakes when mounting pressure-mounted wall bars yourself
Most complaints about a wobbly unit come not from a faulty structure but from mistakes at the installation stage. Let's go through the most frequent ones.
The first and most common is an under-tightened screw jack. It seems the structure already stands firmly, the rod appears to meet the ceiling, and the job is finished too early. In fact you need to wind it out to noticeable resistance, not to the foot's first touch on the ceiling: the difference between "touching" and "firmly pressed with force" is the difference between a wobbly unit and stable wall bars.
The second mistake is installing without allowing for uneven floor and ceiling. In panel buildings the height difference in one room can reach a centimetre or two between corners. If you measure the height at one point and set the bars at another, the jack travel may fall short, or else the jack has to be wound almost to the end of the thread, which reduces the node's safety margin.
The third is skimping on levelling. Even a small vertical tilt looks unnoticeable by eye, but during active training with swinging it turns into a constant side load on the screw jack, which makes the thread work loose noticeably faster.
- Do not stop winding the rod at the first touch — wind it to a firm, forceful brace
- Measure the ceiling height at the exact installation point, not "by eye" across the room
- Level the frame in both planes before the final tightening
- Do not hang attachments until the empty frame's stability is fully checked
- Do not skimp on tightening the frame hardware — under-tightened joints cause the same wobble as a weak jack
Where in the flat to place pressure-mounted wall bars
Formally a pressure mount works in any room with a suitable ceiling height, but the options differ greatly in how comfortable they are to use. A kids' room is the most common choice: a full renovation there is usually done only after the child has grown up, so mobility and leaving no installation marks are especially valued.
A living room works if you find a corner away from the TV and soft furniture — swinging on the bar needs free space in front and behind, not just to the sides. A hallway or corridor, against expectations, sometimes works too: if the width allows, the pressure-mounted wall bars take up literally a corner by the wall with no loss of passage, especially models like the "Krepysh", designed for a narrow pier.
A balcony or loggia is a high-risk zone for a pressure mount: they often have a weakened slab, temperature swings and high humidity, which make the timber frame and the threaded node work in far harsher conditions than in a living room. Such spaces are best discussed with a manager separately before ordering installation.
Mounting and adjusting the screw jack: step by step
Assembling pressure-mounted wall bars takes about one and a half to three hours — the same as a wall-mounted model, the only difference being the final fixing node. All hardware and the instructions come in the kit; there is nothing extra to buy.
- Measure the exact ceiling height at the installation spot — in different corners of the room it can vary by a couple of centimetres because of an uneven screed.
- Assemble the upright frame on the floor per the instructions, without fully tightening the joints.
- Stand the assembled frame vertically and level it up.
- Wind the screw jack out to firm contact of the foot with the ceiling — don't rush, and don't over-tension the thread in one go.
- Check the structure for play by rocking the body firmly by hand.
- Tighten all frame fixing nodes to the final torque per the instructions.
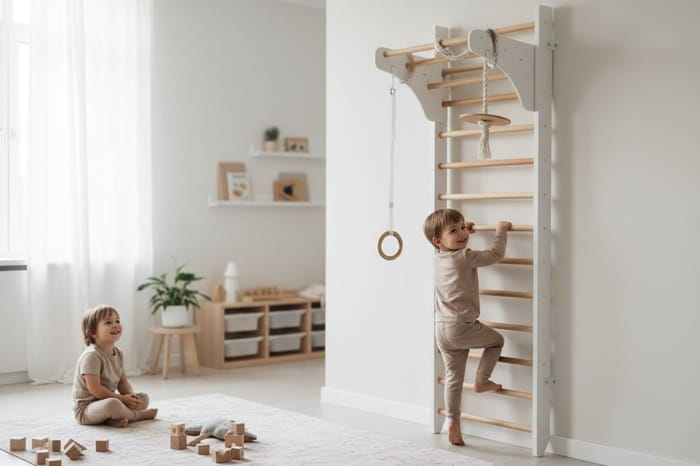
Adjusting the screw jack is an operation you will come back to beyond the first assembly. The timber frame settles a little in the first months, and the thread loosens slightly from vibration during active training, so winding the rod a quarter-turn now and then is normal operation, not a product fault.
If the model takes attachments — a pull-up bar, dip bars, an ab bench — it is better to hang them after the final tightening of the pressure node, not during mounting. That way you can immediately see how the pressure-mounted wall bars behave under real load, rather than assembled without equipment.
Which wall bar models can be pressure-mounted
Not every model in the range is designed specifically for a pressure mount — some structures are engineered for rigid or combined fixing from the start. Let's sort out what matches what.
The "Krepysh" — a basic I-shaped set of wall bars for narrow piers — is one of the most frequent candidates for a pressure mount: compact, light, it works excellently with a floor-to-ceiling screw jack. The "Minsk Sport" with modular removable attachments also pressure-mounts beautifully — its adjustable modules create no critical side load on the fixing. The "Lider", a U- or T-shaped sectional unit with a net and monkey bars, more often goes on a pressure mount where a wide working zone is needed without drilling several points in the wall.
The "Vershina" — with an integrated top pull-up bar — is also a suitable pressure-mount option, since the bar's main load runs vertically down rather than tearing at the wall. If you want exactly this configuration, it is worth looking at wall bars with a pull-up bar separately — the bar options are covered there in more detail. The "Moy Turnik", where a removable adjustable bar with different grips is a separate node, also works on a pressure mount as standard. The "Maugli", a children's model with a rope, rings and a rope ladder, is a light structure for which a pressure mount almost always suits, especially in a kids' room, where parents usually don't want to drill the walls.
The "Vertikal" with its rigid combined fixing and the "Atlet", a reinforced model with thick uprights and a load up to 250 kg, were engineered for more rigid fastening from the start. A pure pressure mount is not recommended for the "Atlet" — the model is rated for serious dynamic loads, and here a link to a load-bearing wall is exactly what's needed. If the goal is maximum strength and a high load, it is wiser to look straight at reinforced wall bars with a combined or wall fixing rather than try to pressure-mount one.
| Model | Structure type | Recommended fixing | Price from, $ |
|---|---|---|---|
| Krepysh | I-shaped, narrow pier | Pressure | 198 |
| Vershina | I-shaped, built-in pull-up bar | Pressure | 187 |
| Minsk Sport | Modular, removable attachments | Pressure | 174 |
| Lider | U/T-shaped, net, monkey bars | Pressure | 195 |
| Moy Turnik | Removable adjustable pull-up bar | Pressure | 218 |
| Maugli | Children's, rope, rings | Pressure | 92 |
| Vertikal | I-shaped, rigid fixing | Combined | 183 |
| Atlet | Reinforced, up to 250 kg | Combined / wall | 202 |
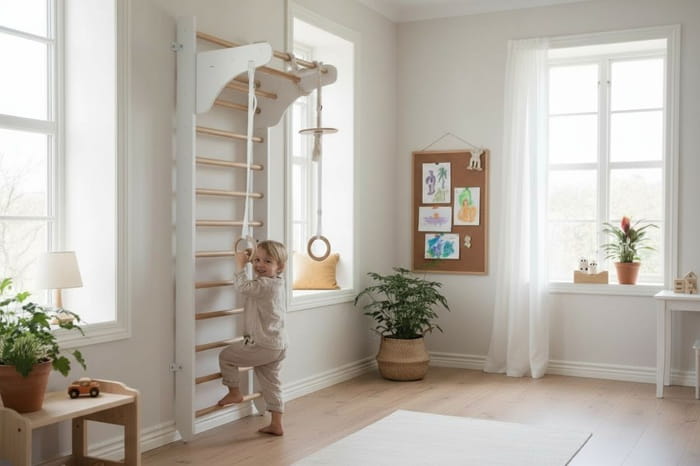
How much pressure-mounted wall bars hold: load
The standard load for most models is 120–150 kg, and a pressure mount holds this figure with ease when properly tightened. The structure takes up very little space in doing so, around 0.2 square metres of floor — a decisive argument for many flats when choosing where to install it.
The logic here is simple: the tighter the screw jack is wound, the greater the friction and the higher the real safety margin of the fixing. A loosely wound rod lowers both the stability and the allowable load — the pressure-mounted wall bars may start to "wander" at a weight well below the rated one. That is why the manufacturer recommends a periodic tightening check rather than relying on a one-off, set-and-forget installation.
For above-standard loads — for example, if an adult athlete over 100 kg with added weight on a belt plans to train — a pressure mount is no longer the first choice. Here it makes more sense to look at combined or wall-mounted options, where part of the load is taken by a load-bearing wall rather than just the vertical pressure of the screw rod.
Servicing a pressure mount: retightening every 3–6 months
A pressure-mounted structure needs a little more attention than a wall-mounted one, precisely because of the screw node. Every 3–6 months it is worth checking the frame bolt tension and, separately, the position of the screw jack — whether it has loosened from vibration and the natural settling of the timber.
- Check the tension of the frame bolts and the screw jack every 3–6 months
- Wipe the surface with a dry or slightly damp cloth, without abrasives
- Lay a mat under the wall bars — it reduces floor load and dampens noise
- Do not place the unit by a radiator or in direct sunlight — the wood and finish last longer
- At the first sign of slight play, tighten the jack straight away, before the wobble becomes noticeable
The finish — hypoallergenic, certified water-based lacquers and oils — needs no special care beyond gentle wiping. The threaded node, however, lives by its own rules: the timber frame "breathes" with the humidity in the flat, which can make the screw rod loosen slightly even without active training. This is normal and is cured with a couple of turns of a key.
The warranty on the structure, including attachments, is 12 months, excluding natural wear of rope and textile parts such as a rope or gymnastic ladder, which wear faster than metal and wood under active use.
In practice the tightening check takes a couple of minutes: rock the body at the top rung, inspect the visible frame bolts and, if needed, tighten the screw jack with a key by a quarter to half a turn. It is handy to tie this routine to the season — for example, check the pressure-mounted wall bars at the change of the heating period, when the humidity in the flat shifts most noticeably and the timber frame settles a touch differently into place.
The attachments on a pressure-mounted structure deserve a separate word — a removable pull-up bar, dip bars, a folding ab bench, rings, a rope, a rope ladder, resistance bands. All of this fixes to the same frame as the main unit, so the load from the attachments adds to the load on the screw jack. If several hanging points are planned at once — rings and a bar together, say — it is worth telling the manager when ordering, to pick a model with a rigidity margin.
The warranty covers the pressure-mounted wall bars and fixing nodes specifically, not the natural wear of textiles from active use — this is normal practice for any sports equipment, be it a pressure, wall or combined fixing of wall bars.
How to order pressure-mounted wall bars from the manufacturer
Production is our own workshop in Belarus, the town of Zaslavl in Minsk District, 7 Stroitelnaya Street. Delivery is organised nationwide, so you can order pressure-mounted wall bars whether it is a rented flat in a regional centre or a house in a district town.
The materials are identical for all fixing types: uprights of laminated pine or birch, rungs of dense hardwood — beech or ash — and all the hardware hidden, metal, on furniture connectors. The difference between models lies only in the design of the fixing node and, accordingly, in the allowable ceiling height and room walls.
For wholesale buyers — furniture shops, online marketplaces, retail chains — there is a minimum batch from 10 units, with shipping available under your own brand (Private Label). The products are certified to EAC (TR CU) requirements; shipping takes 3–5 working days from stock, made-to-order production 15–35 days. Delivery to the carrier's terminal is free, and pickup from the warehouse in Zaslavl is also available.
Before ordering, it is worth measuring the ceiling height in centimetres in advance and confirming the slab type — a concrete slab, timber joists or a suspended structure. These two figures immediately rule out some models and save time on selection: if the ceiling is a stretch one or the height falls outside 2.40–3.10 m, the manager will suggest a wall or combined option instead of a pressure mount straight away.
A retail buyer usually only needs to state three parameters to place an order: the ceiling height, the type of walls nearby and the expected load — who will train, a child or an adult, and at what weight. The manager then advises which model and which fixing makes more sense: pressure, wall or combined.
In summary: when pressure-mounted wall bars are the right choice
To sum up the selection logic briefly: a floor-to-ceiling pressure mount is needed where you cannot or do not want to drill the wall, and the ceiling height falls within the working range of the screw jack. That means rented housing, plasterboard partitions, new builds with an unfinished renovation, and kids' rooms where it matters not to spoil a fresh finish.
Where there is a load-bearing concrete or brick wall nearby and you want maximum rigidity for high loads, it is wiser to look towards a wall or combined fixing — these options hold more and withstand active strength training for years. And for careful use with regular retightening every few months, a pressure-mounted structure serves no worse at all, while staying mobile and needing not a single hole in the wall.
Expert opinion
A pressure mount is not a compromise "because you can't drill" — it is a full-fledged engineering solution with its own niche. It works correctly where the conditions are right: a ceiling in the 2.40–3.10 m range, a strong slab above, a hard floor below and a willingness to check the screw node's tension every few months. Under these conditions pressure-mounted wall bars hold a standard household load as reliably as wall-mounted ones, only without a single hole in the wall.
The mistake we see most often is trying to pressure-mount a model designed for a combined fixing, or ignoring the ceiling type. A stretch or suspended membrane, a ceiling too high or too low — this is not about "luck", but about an outright refusal to install. So before ordering it is worth measuring the height and determining the slab type in advance, rather than picking a model by eye.
— Veronika Tarasevich, internet marketer, specialist in semantics and content for product niches.